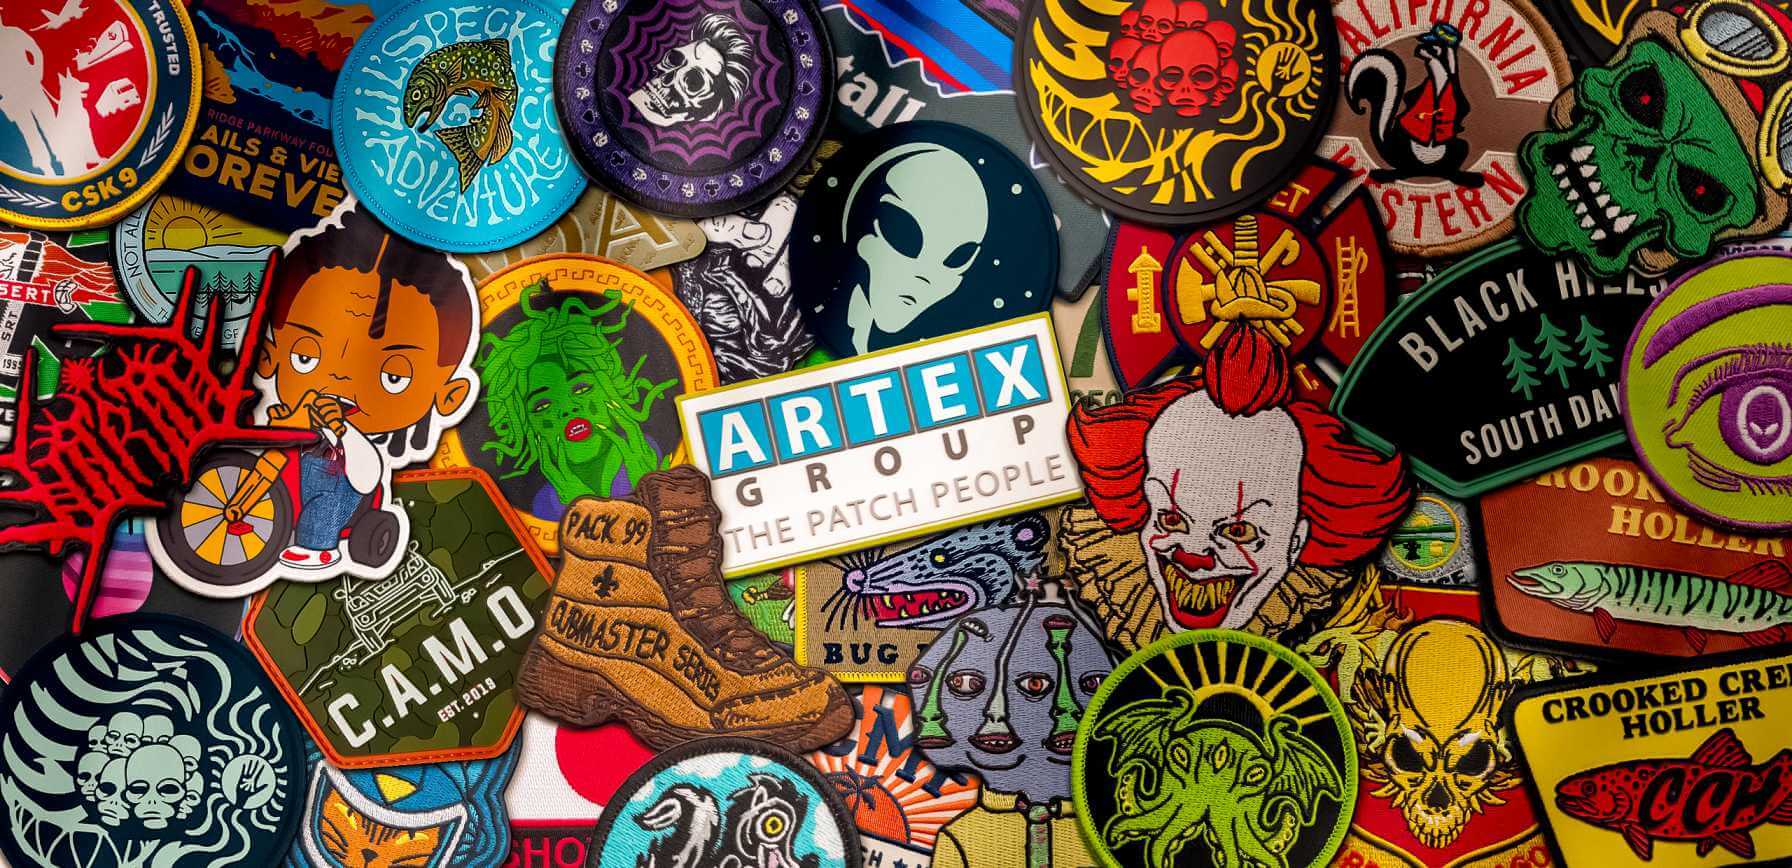
Iron-on embroidered patches are a fantastic way to personalize clothing, hats, backpacks, and more. Whether you're looking to add a stylish touch to your apparel or represent a brand, ensuring that your patch is properly adhered is crucial for longevity and durability. Here’s a step-by-step guide to correctly attaching an iron-on embroidered patch to fabric.

Iron-on patches adhere best to fabrics that can withstand high heat, such as cotton, denim, or polyester. Avoid materials like silk, nylon, or leather, as they may scorch, melt, or fail to hold the patch securely.
Decide where you want to place the patch on your garment or cap. Ensure it is centered or aligned to your preference before applying heat. If needed, use pins or fabric chalk to mark the location.
If you’re using a domestic iron to adhere your heat transfer patches, you’re going to start by pre-heating your iron on the “cotton” setting. Be sure that your steam setting is turned off. Set your custom patch on the garment in the place where you’d like to adhere it. Place a heat-safe material over the patch and garment. Be careful that you don’t move the patch. This fabric serves as a protective barrier between the patch and the iron.
When the iron is ready and the steam is turned off, press the iron onto the patch. Keep the iron on the patch for approximately 25 seconds and don’t move the iron. Use firm, consistent pressure. Moving the iron back and forth can prevent the patch from adhering properly to your garment. After ironing on the patch, let your garment cool down for about five hours prior to wearing it. This gives your patch enough time to properly adhere to the fabric.
If you’re using a heat seal machine, you’ll start by setting your machine to 365 degrees. Unlike when you’re using an iron, you’ll need to pre-heat the spot where you plan to adhere your heat press patches. Pre-heat the spot on the garment for approximately 15 seconds and then place your patch in the pre-heated area. Using about 50 to 70 pounds of pressure, apply heat to your patch for approximately 18 to 20 seconds. Once the patch is adhered, let the garment cool down for about five hours prior to wearing it.
Gently lift the edges of the patch to see if it has adhered properly. If any edges lift, repeat the ironing process for another 10-15 seconds until the patch is fully secured.
Allow the patch to cool completely for several hours before handling. This helps the adhesive set properly.
While iron-on adhesive is strong, repeated washing and heavy use may cause the patch to loosen over time. To ensure long-term durability, sew around the edges of the patch with a needle and thread or use a sewing machine for extra reinforcement.
By following these steps, you can successfully attach an iron-on embroidered patch and enjoy a stylish, long-lasting custom design on your apparel or caps!